Router Cabinet

Creating a router cabinet seems to be every woodworkers first major journey in toolmaking. The first one is always built out of dire need, with plans to always build a newer one on the horizon. At least, this is how it went for me.
Genesis
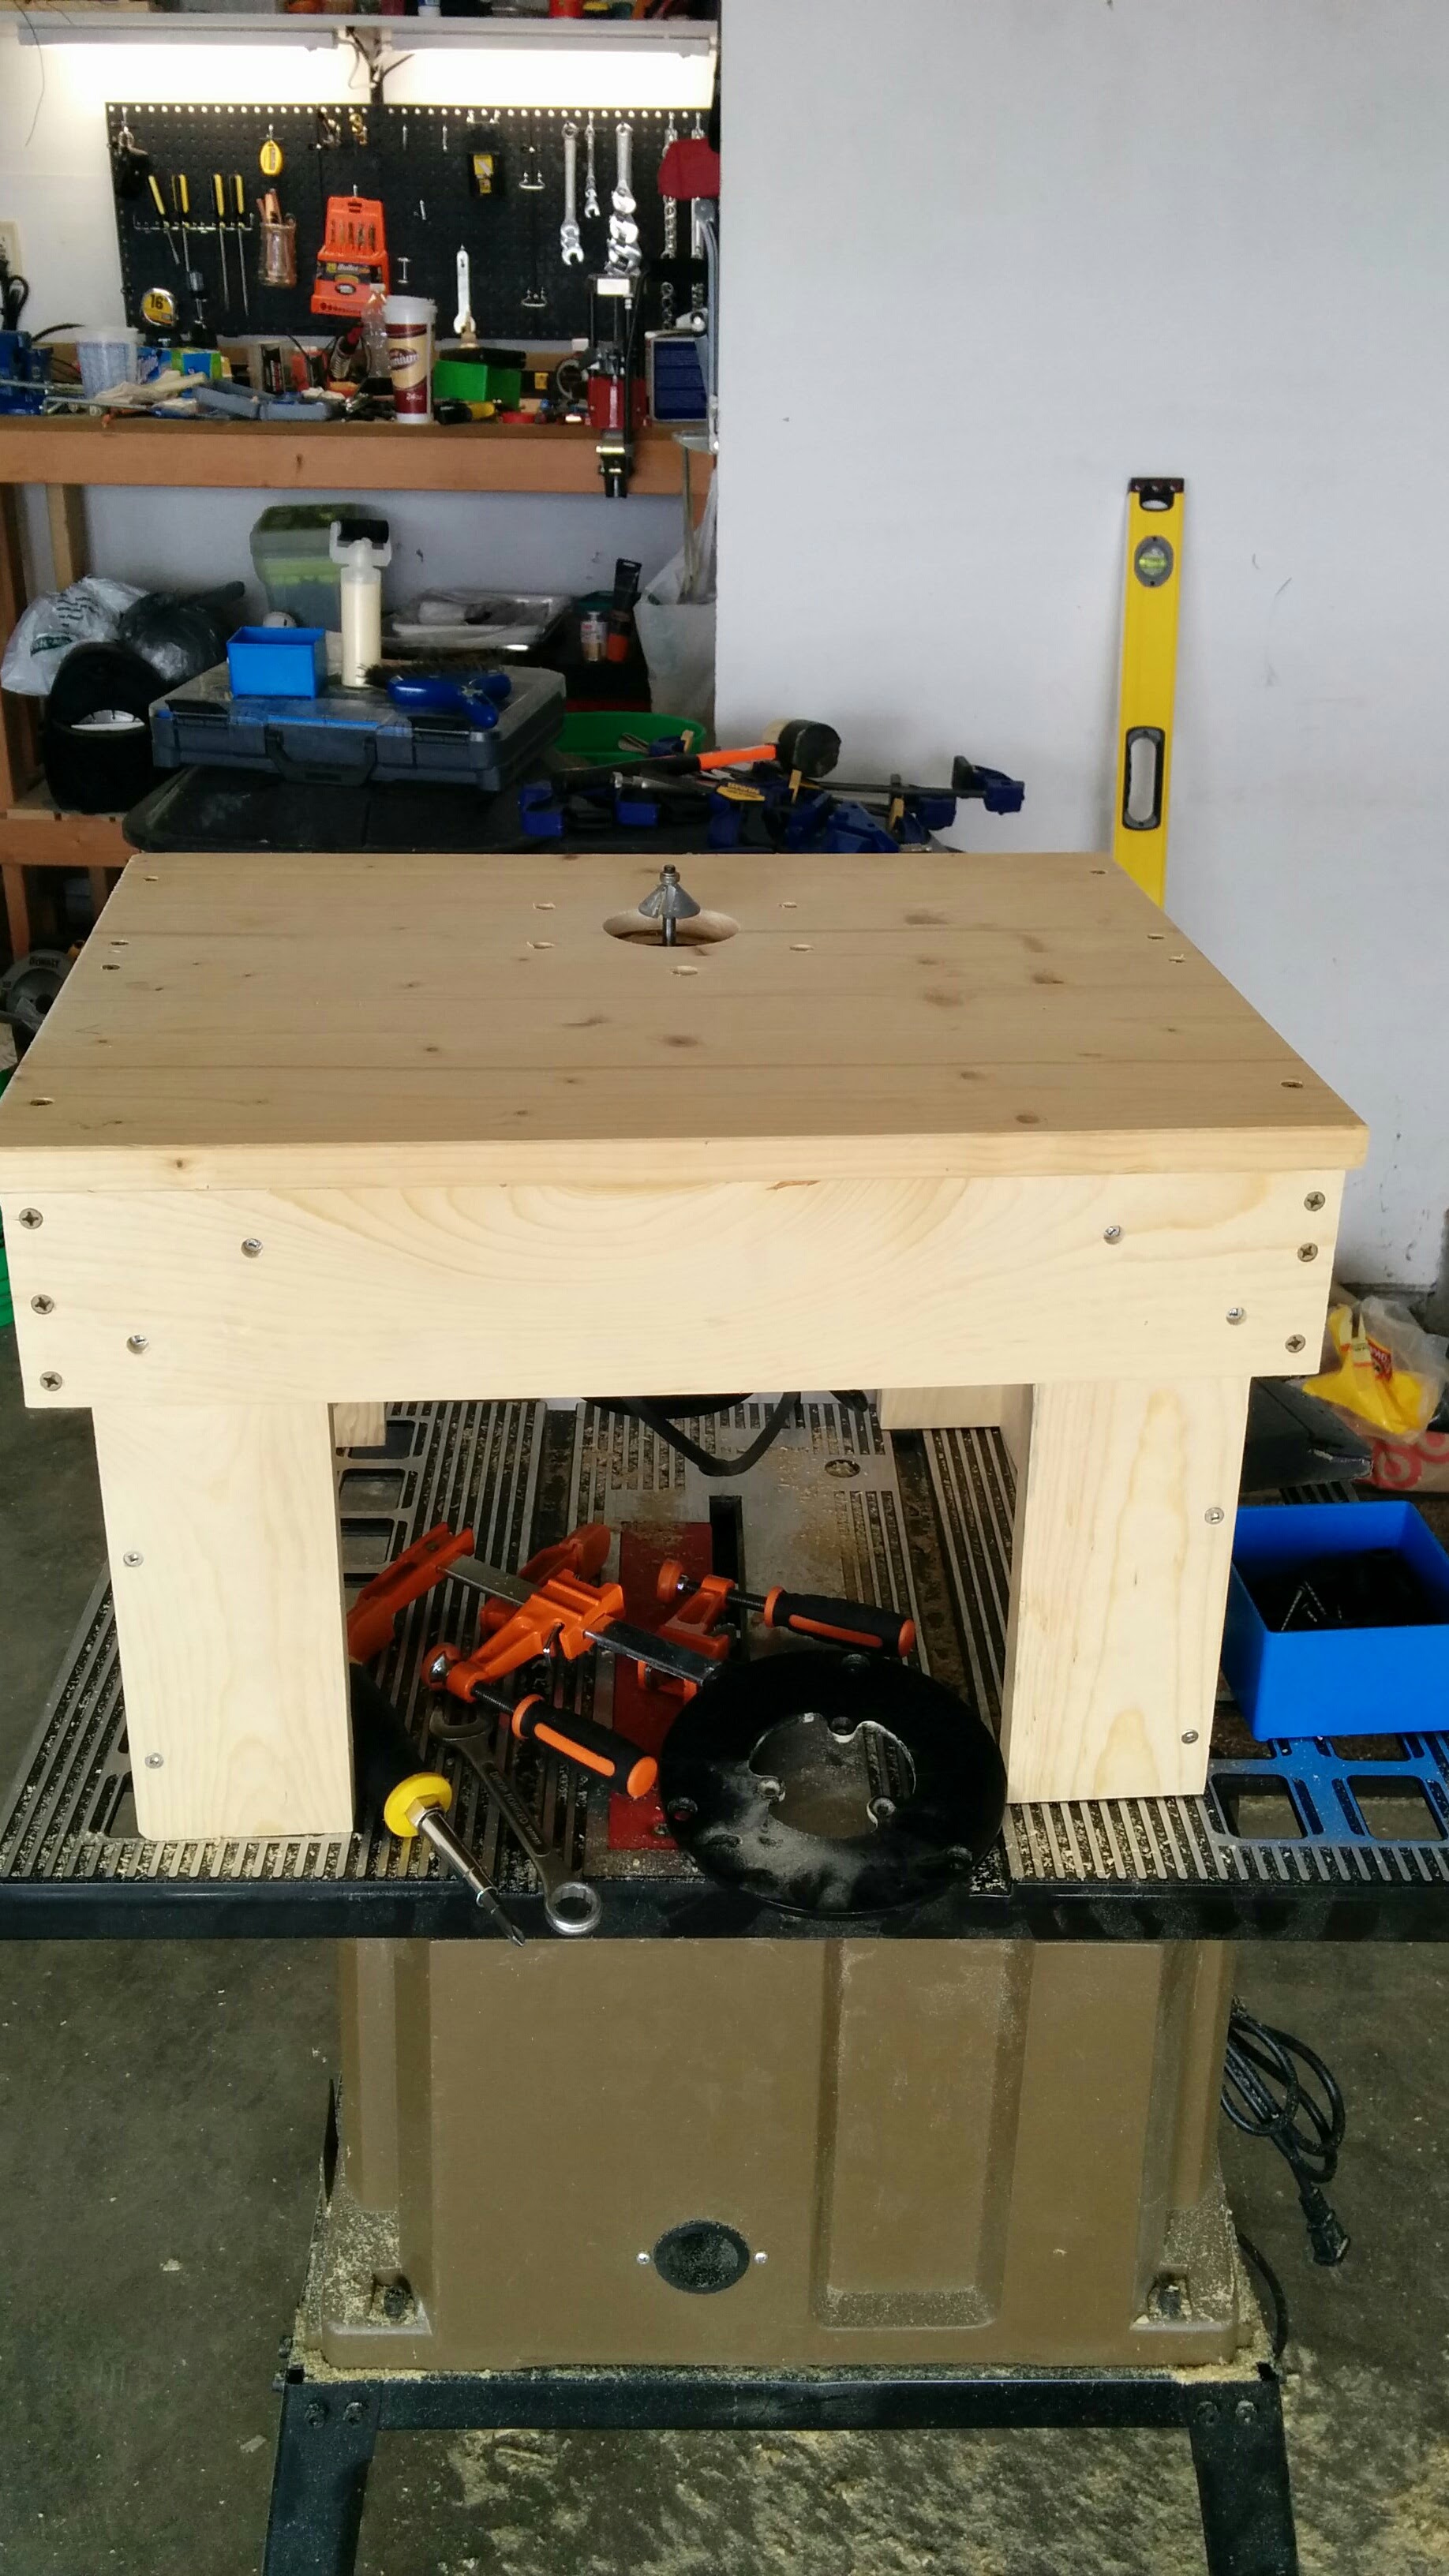
I built my first router "table" when I was building my deck. Then, I need to put a chamfer on the ends of the slats that made up the skirt of the deck. The router table wasn't great, it wasn't large, hell it was made from scraps, but it got the job done.
As I used it, I slowly started building a list of requirements that a new one would need:
- Ability to adjust bit height above the table
- Ability to contain all dust
- Ability to store bits with the cabinet
- Movable and lower to the ground (previous version got mounted on top of a standing workbench)
- Built in power management (I desperately wanted a safety switch)
Research & Design
I spent some time researching router lifts, to me this was key and it would be driving many of the dimensions of the cabinet. I considered making my own, but I really felt that because I didn't really have any of the parts to make my own, it would probably be better to buy the first one. I spent many hours on Amazon trying to find one for the best value, and it was down to either the JessEm Router Lift II or a Kreg Router Lift. After much deliberating, I picked the JessEm Router Lift II because it did something that the Kreg could not, lock the lift at it's current position. I find this important because my table saw wobbles with dado blades in it, which changes the height setting and affects the quality of the work, and I didn't want to have that issue here as well.
I popped open SketchUp and started designing. I borrowed some design ideas from Pintrest, but it took a bit of messing with dimensions (especially after the JessEm Router Lift II was delivered) to get something that looked good.
Looking through my stock, I had a sheet of 4' x 8' construction grade plywood, which was exactly the size I needed to make the cabinet. First task was to do the glue up of the top, as this was two pieces of plywood, laminated together. While that dried, I cut the rest of the carcass parts and started marking where the dados needed to be cut. Then I pulled out my router, setup the edge guide, and ran through all the dados.
The Dry Fit
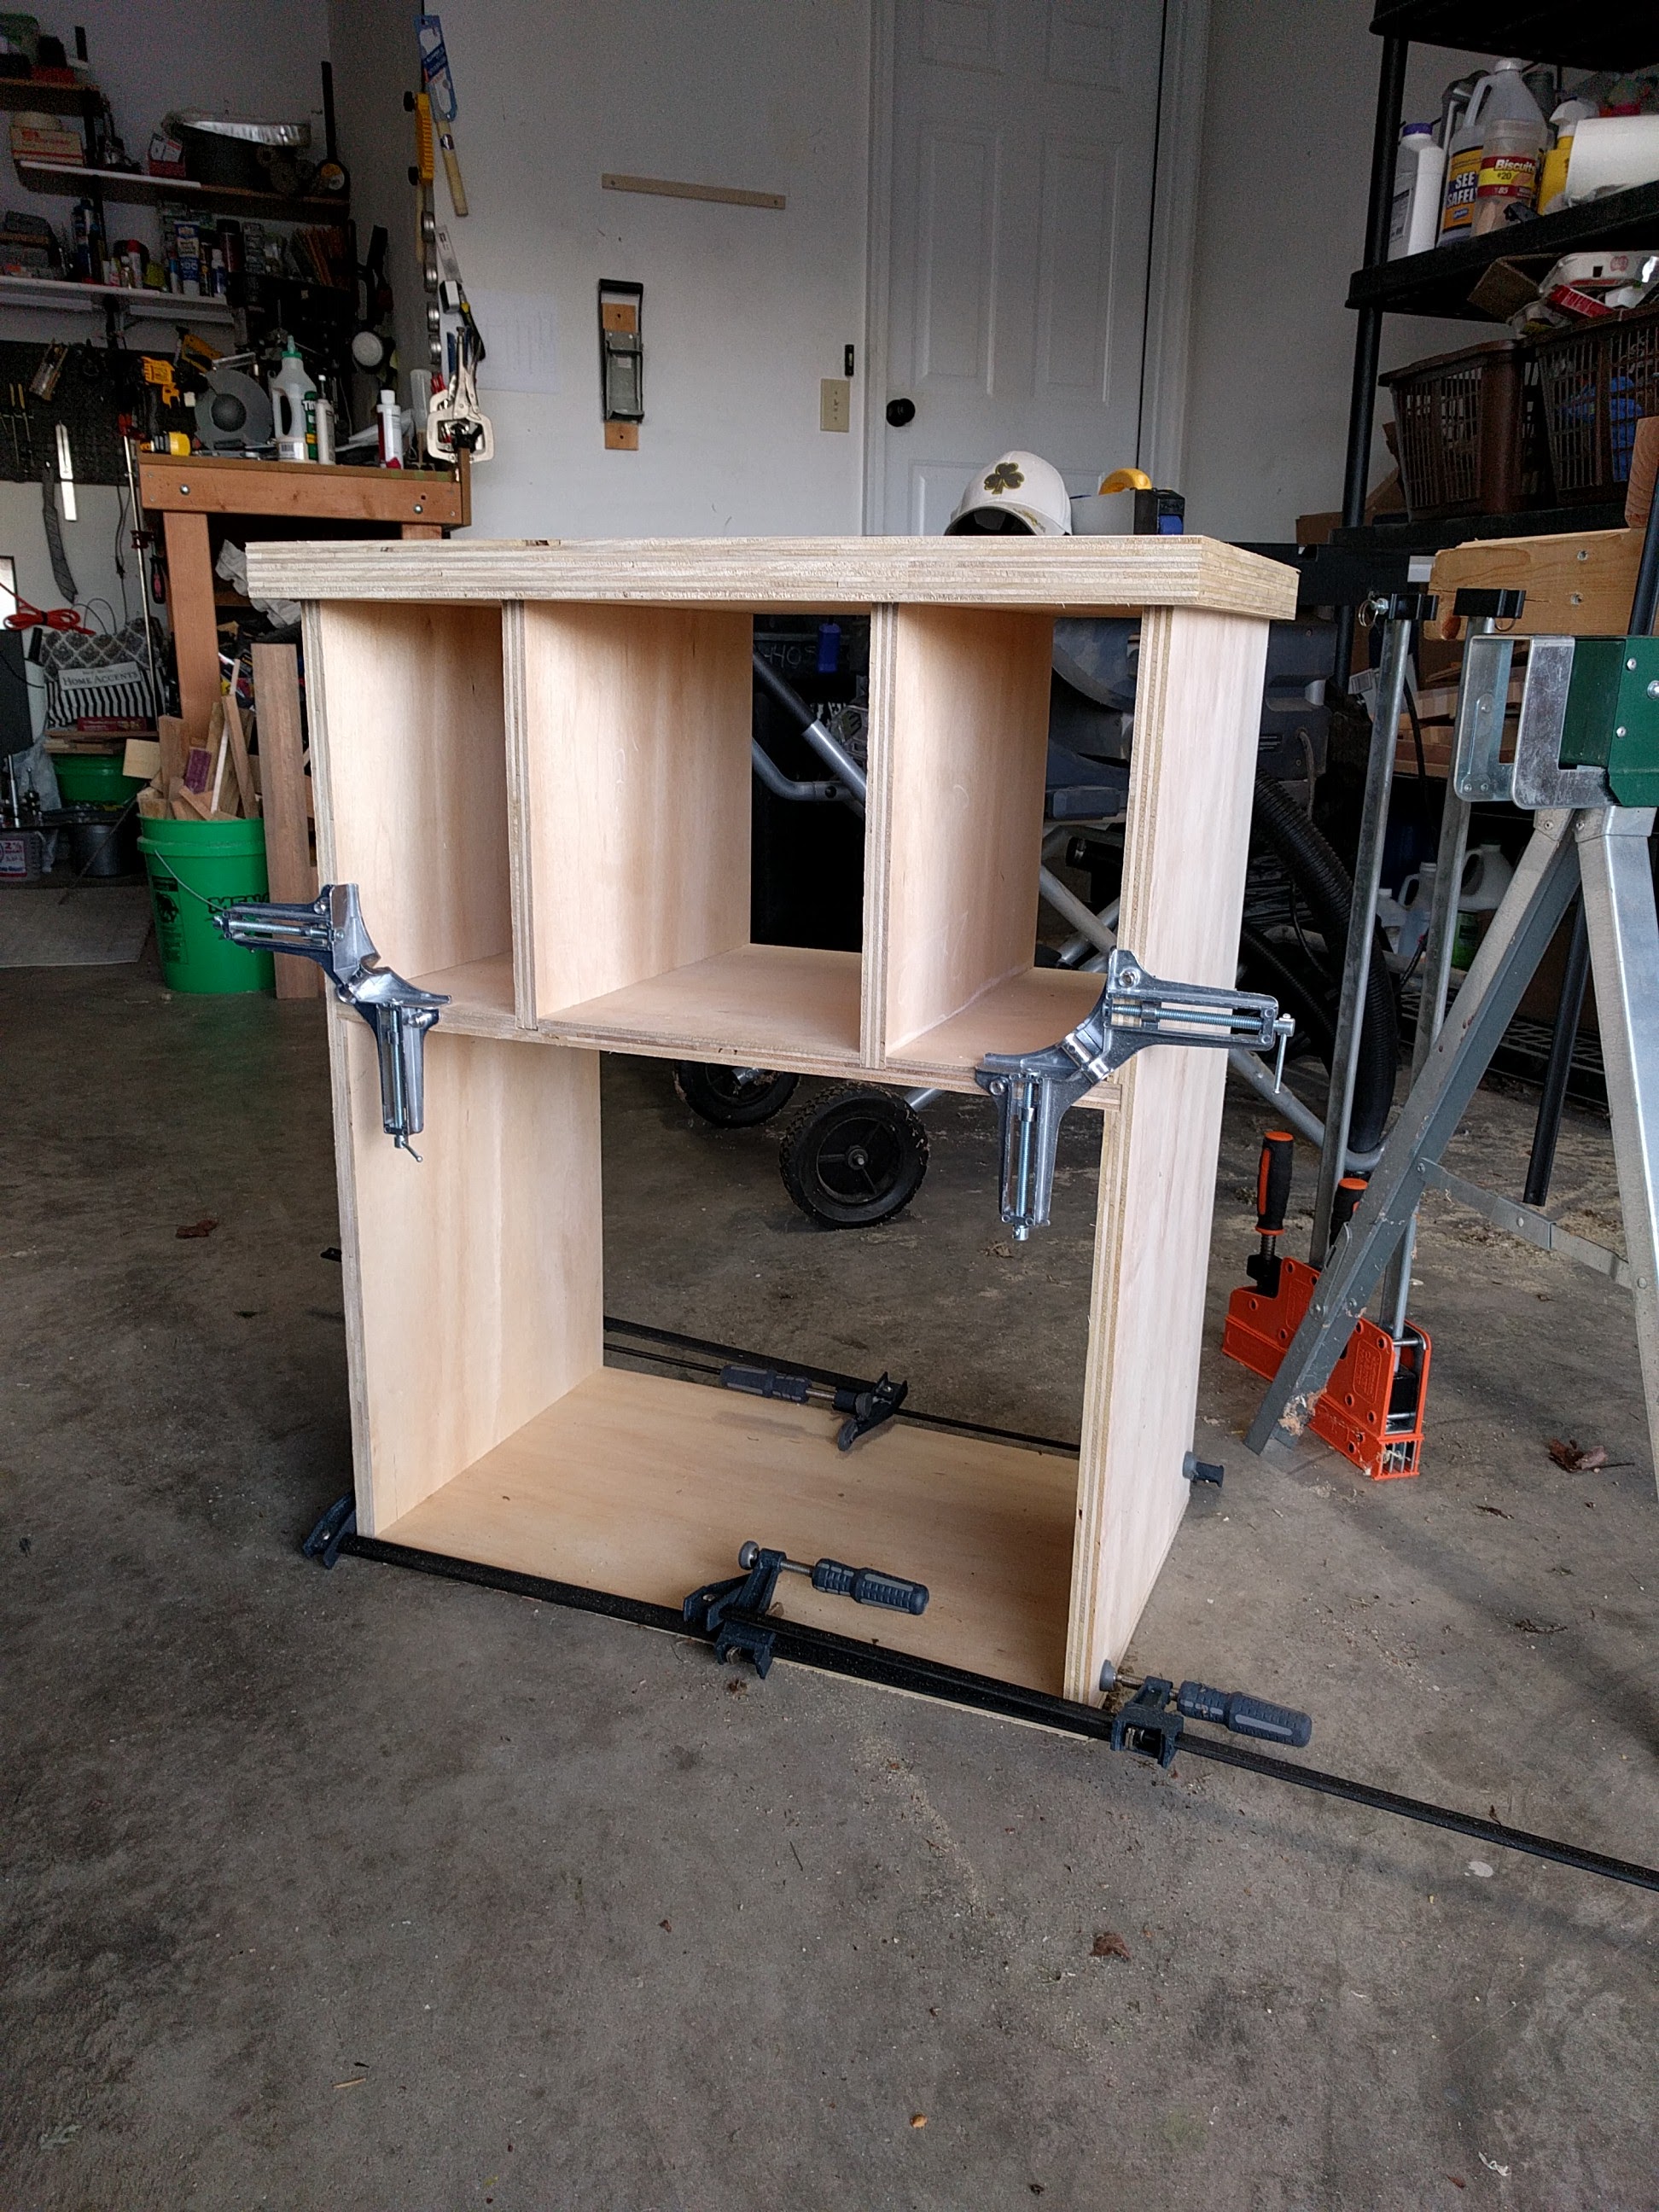
The dry fit went together smoothly, and I couldn't be happier with the fit. Before getting to the glue up, I cut a rabbet on the backside of the carcass to fit in the backer board.
The Glue Up
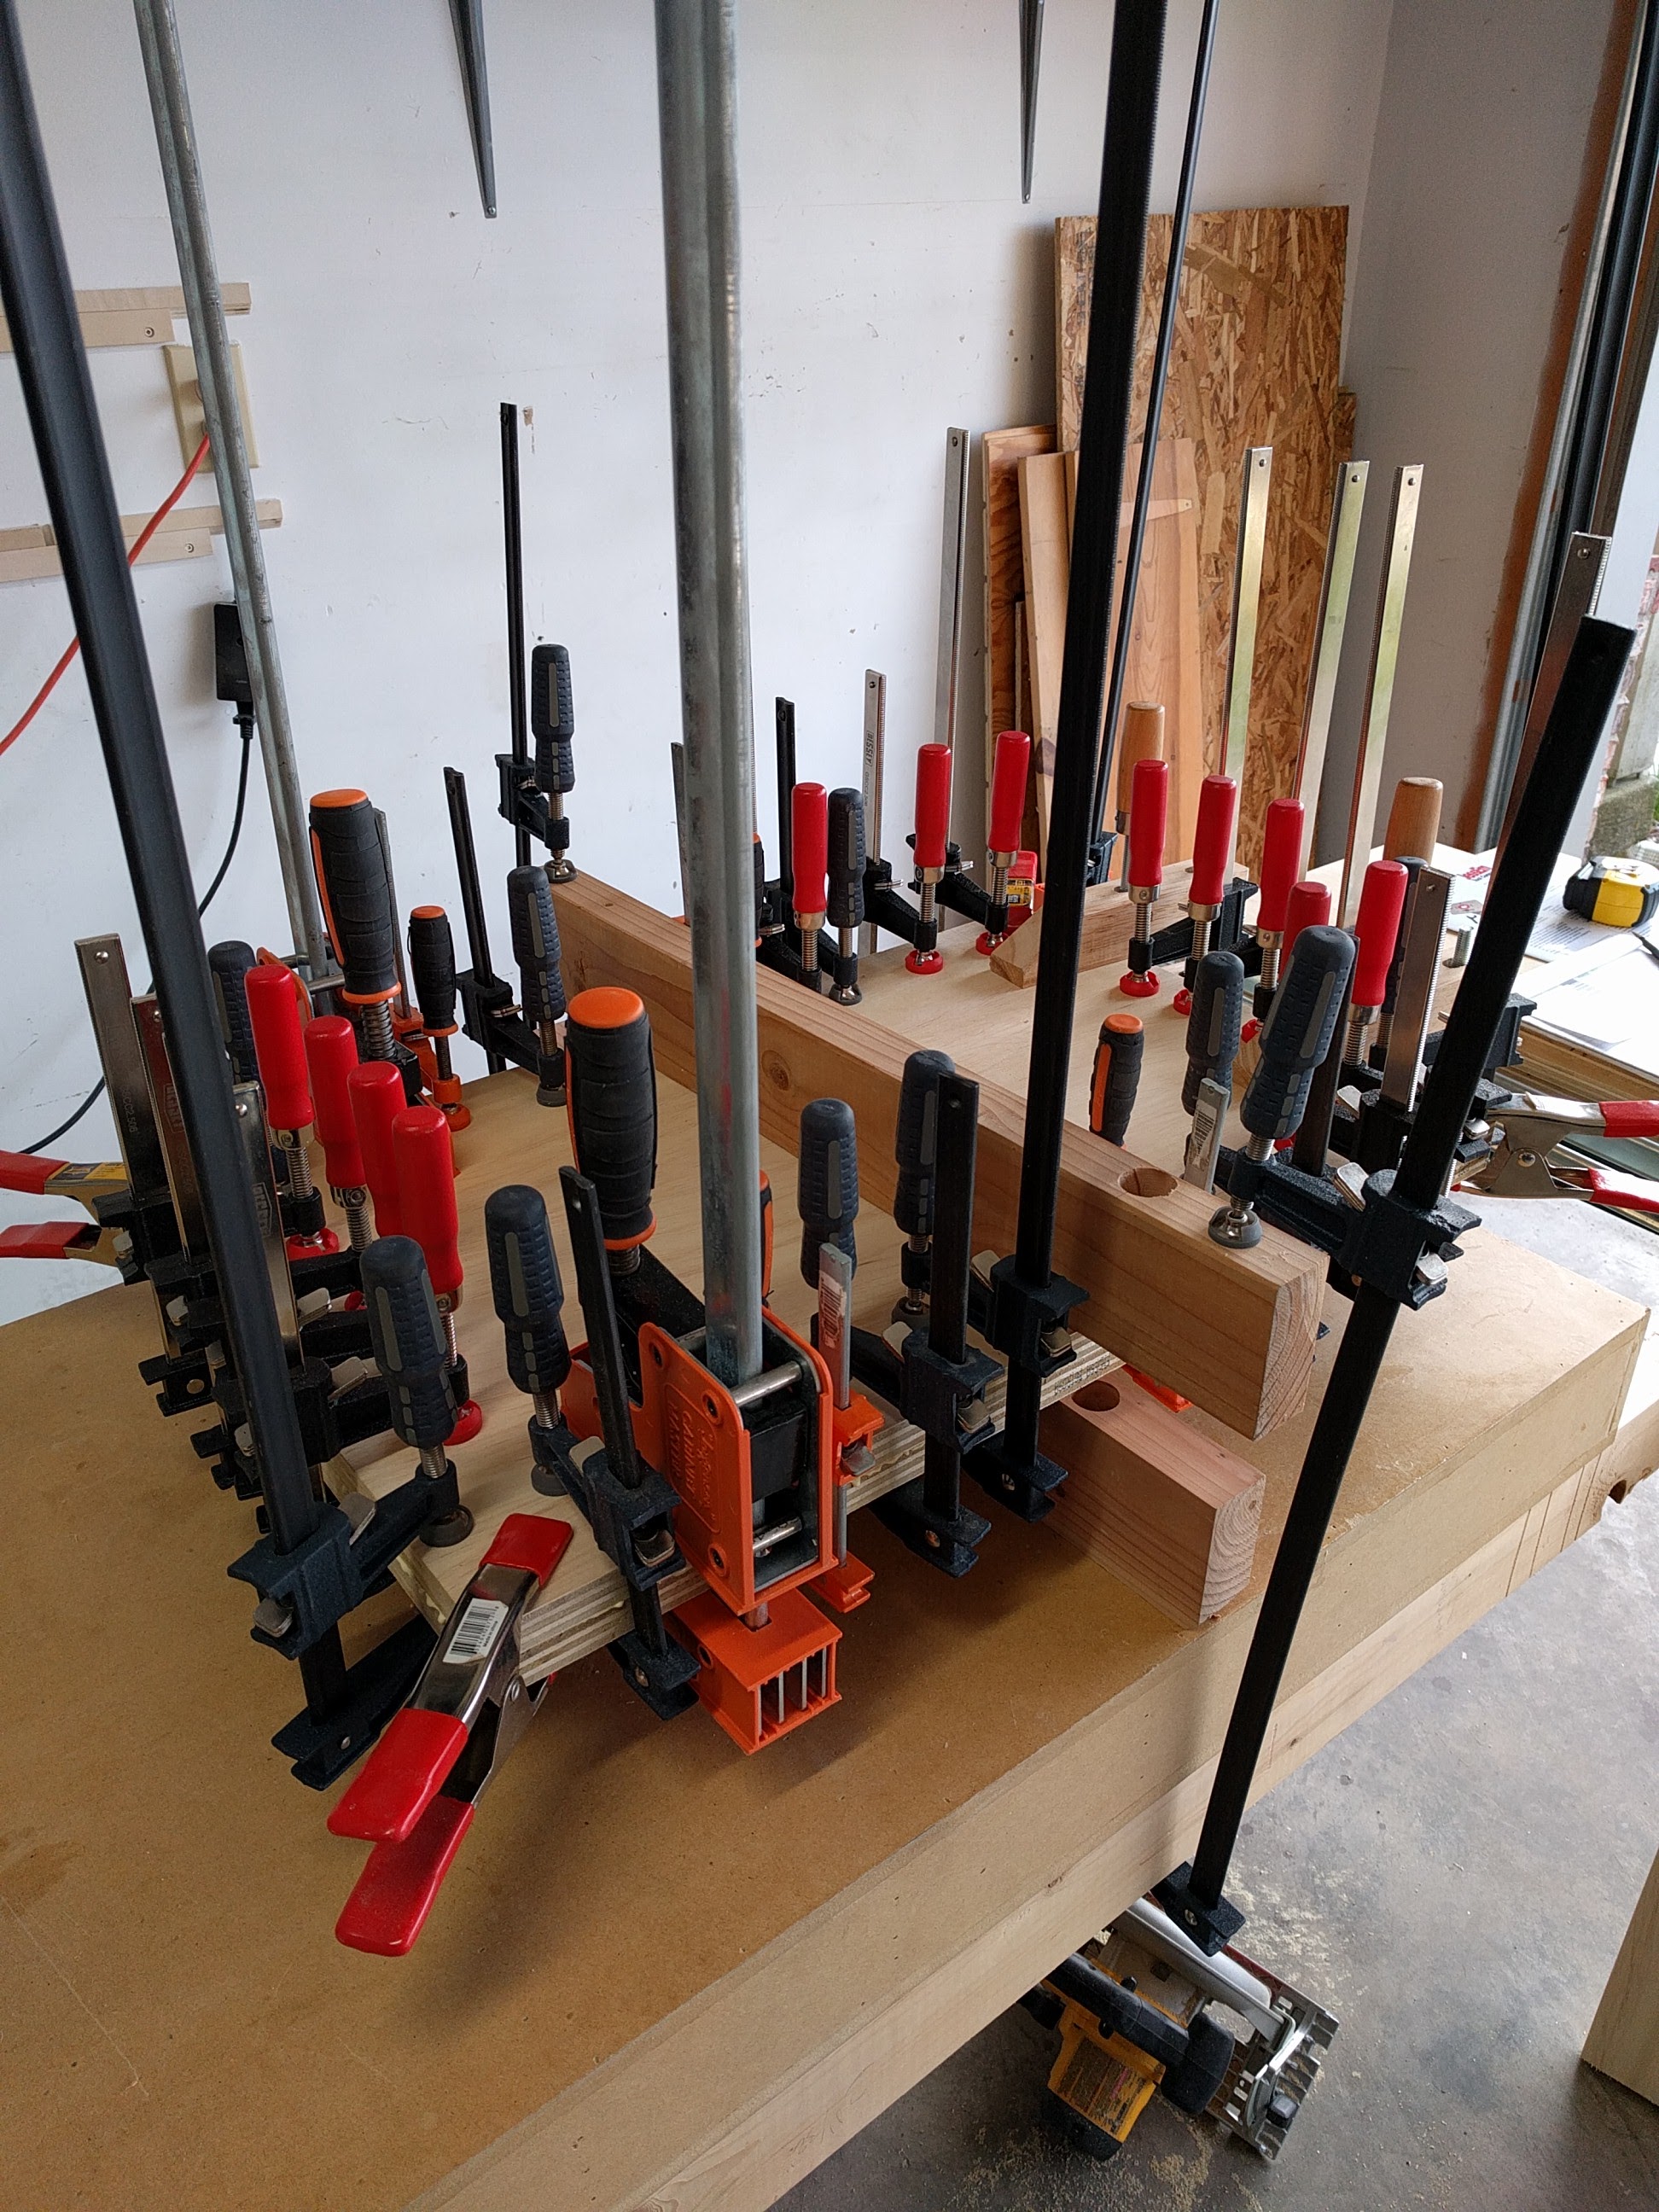
I glued it up without the need for much persuasion from the mallet. I pinned all of the joints (except the top) with brads to save from having to clamp it up (except the top). At this point, I decided to go ahead and install the 2" locking wheels that I bought for it. Ironically, I don't think I needed locking wheels.
Getting Close
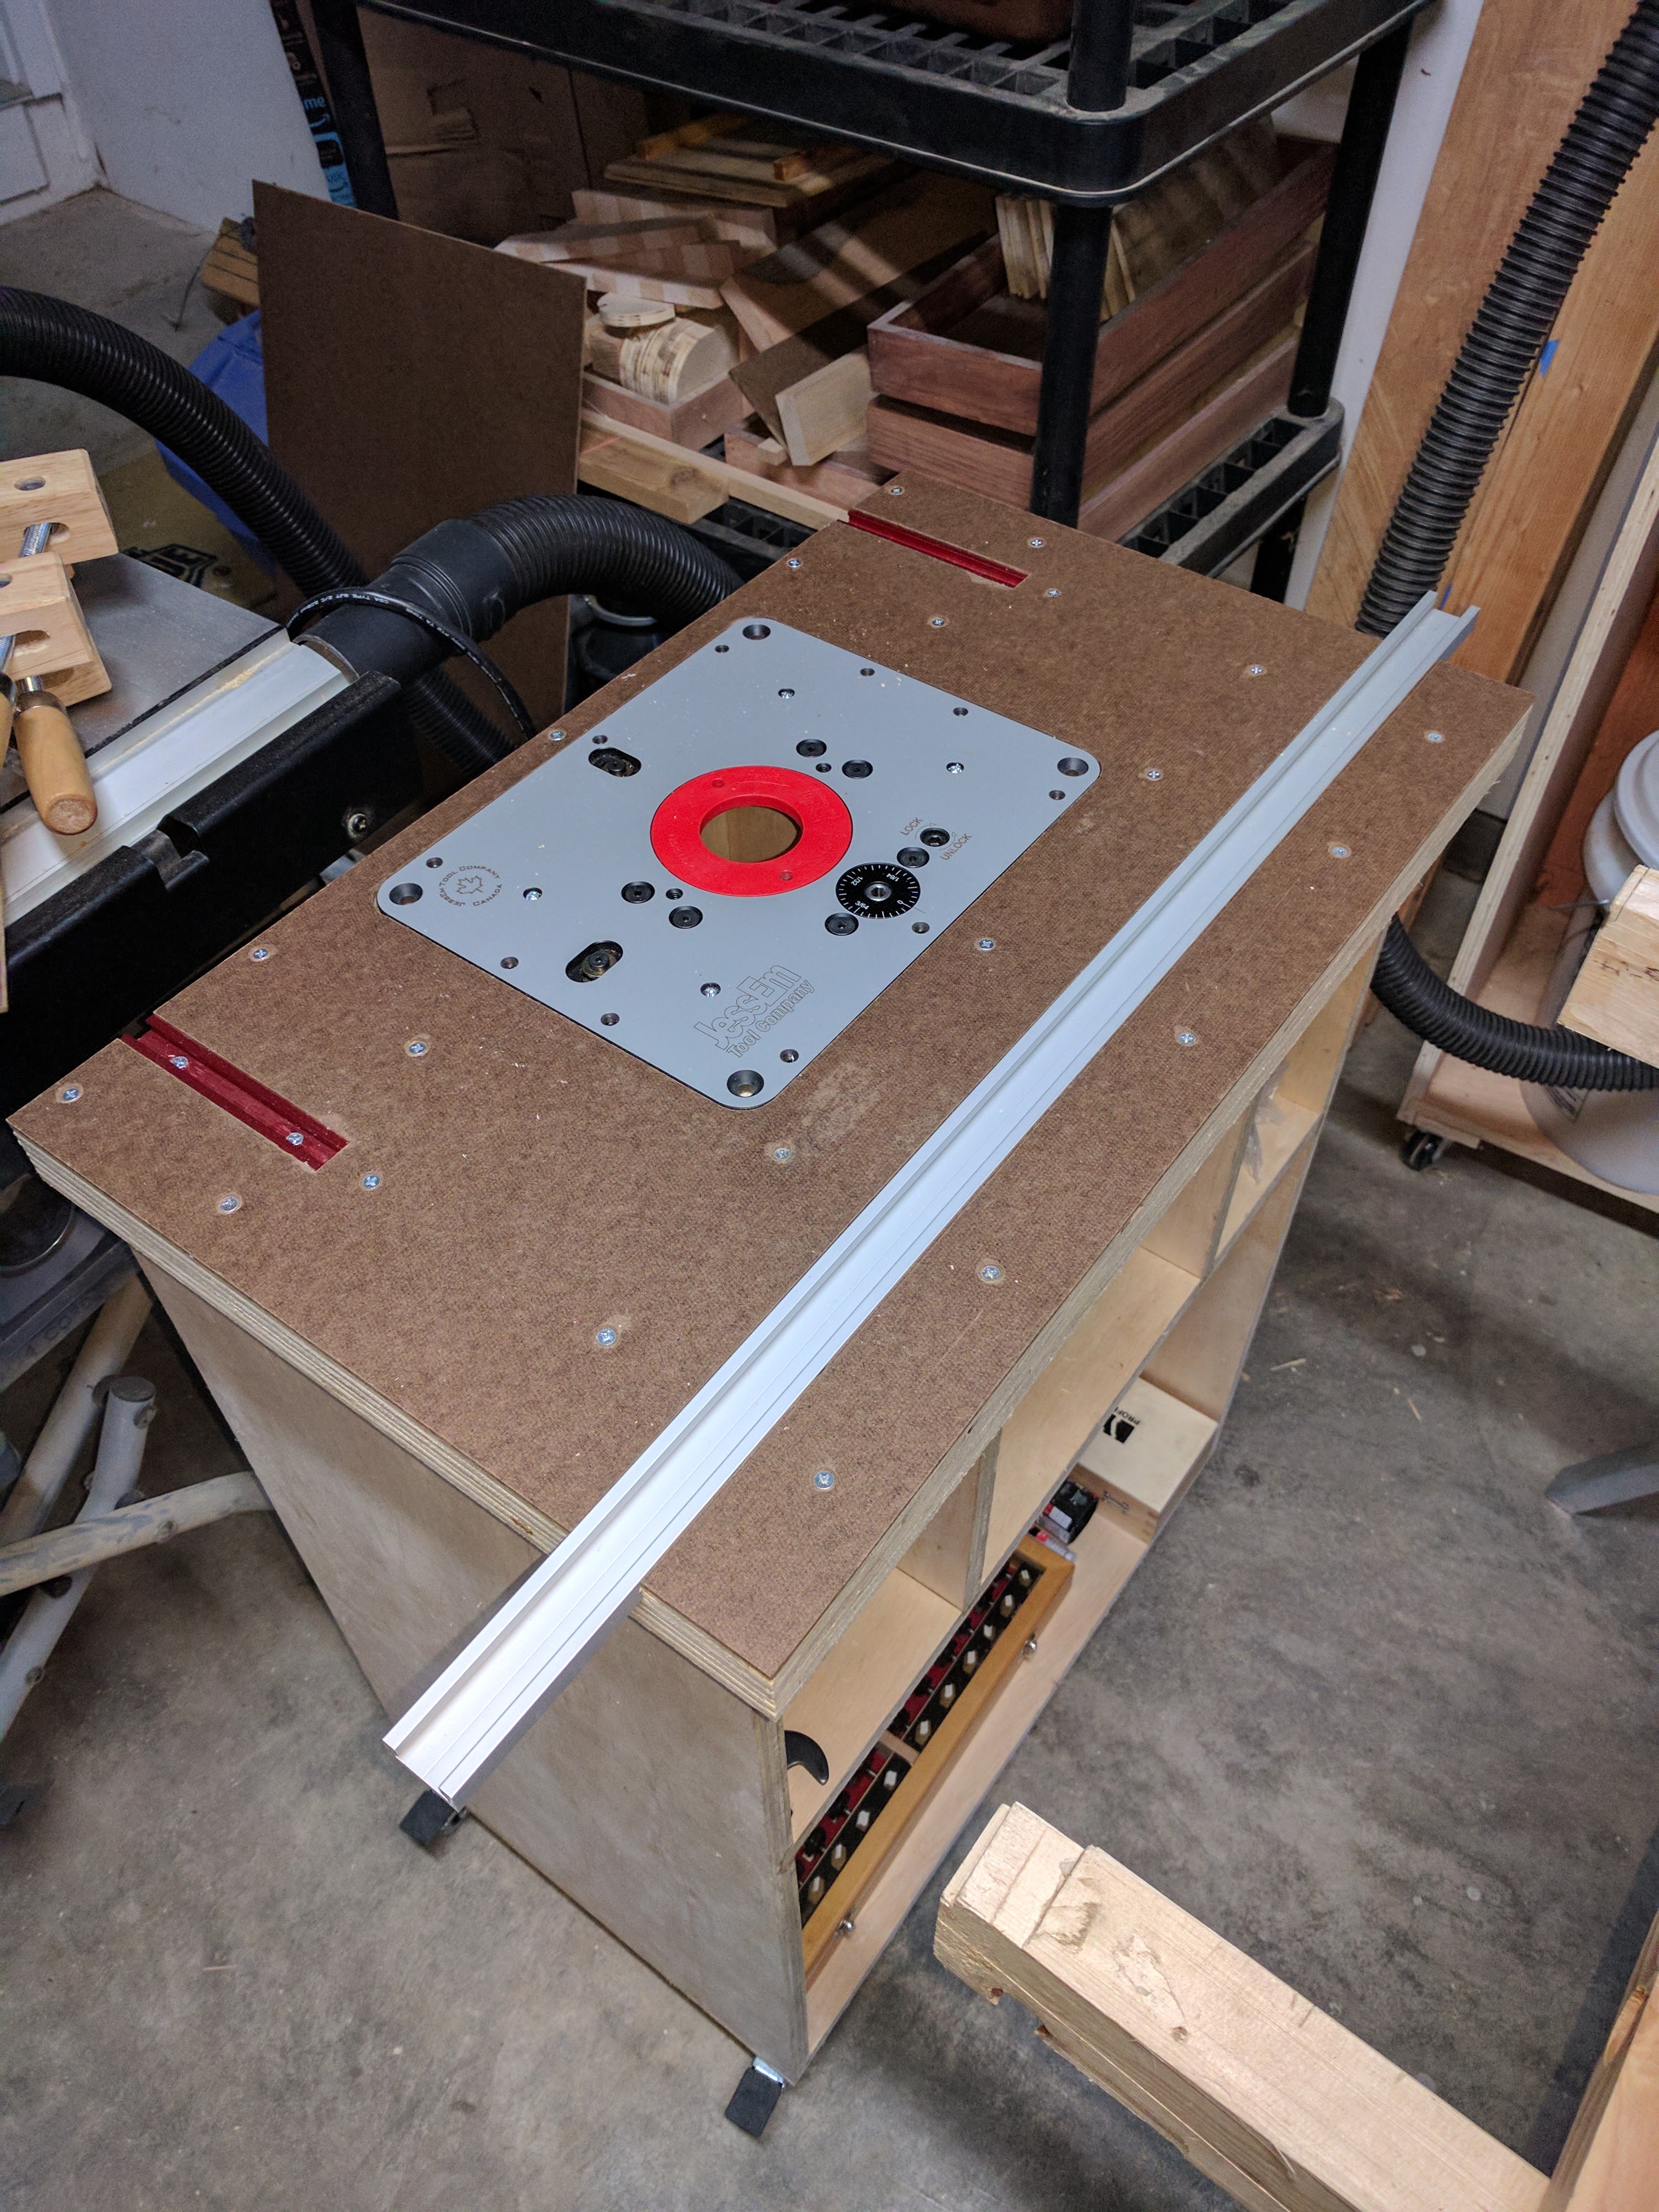
JessEm sells a template for routing out the opening for the router plate. There are a few problems I had with this; First, there weren't any available; Second, they cost more than they should, it's bloody MDF. So I made a template to make the template so I could use that template to cut the opening. Confused yet? Double-sided tape was sufficient to hold the template in place, which was good, because I didn't have a lot of room to put the clamps and use it as a template with the router.
After that, I cut in slot for the miter track and the T-slot tracks for holding down the fence.
I also decided to add a wear surface from 1/4" hardboard, and I only screwed that down so that I could replace it as it wears.
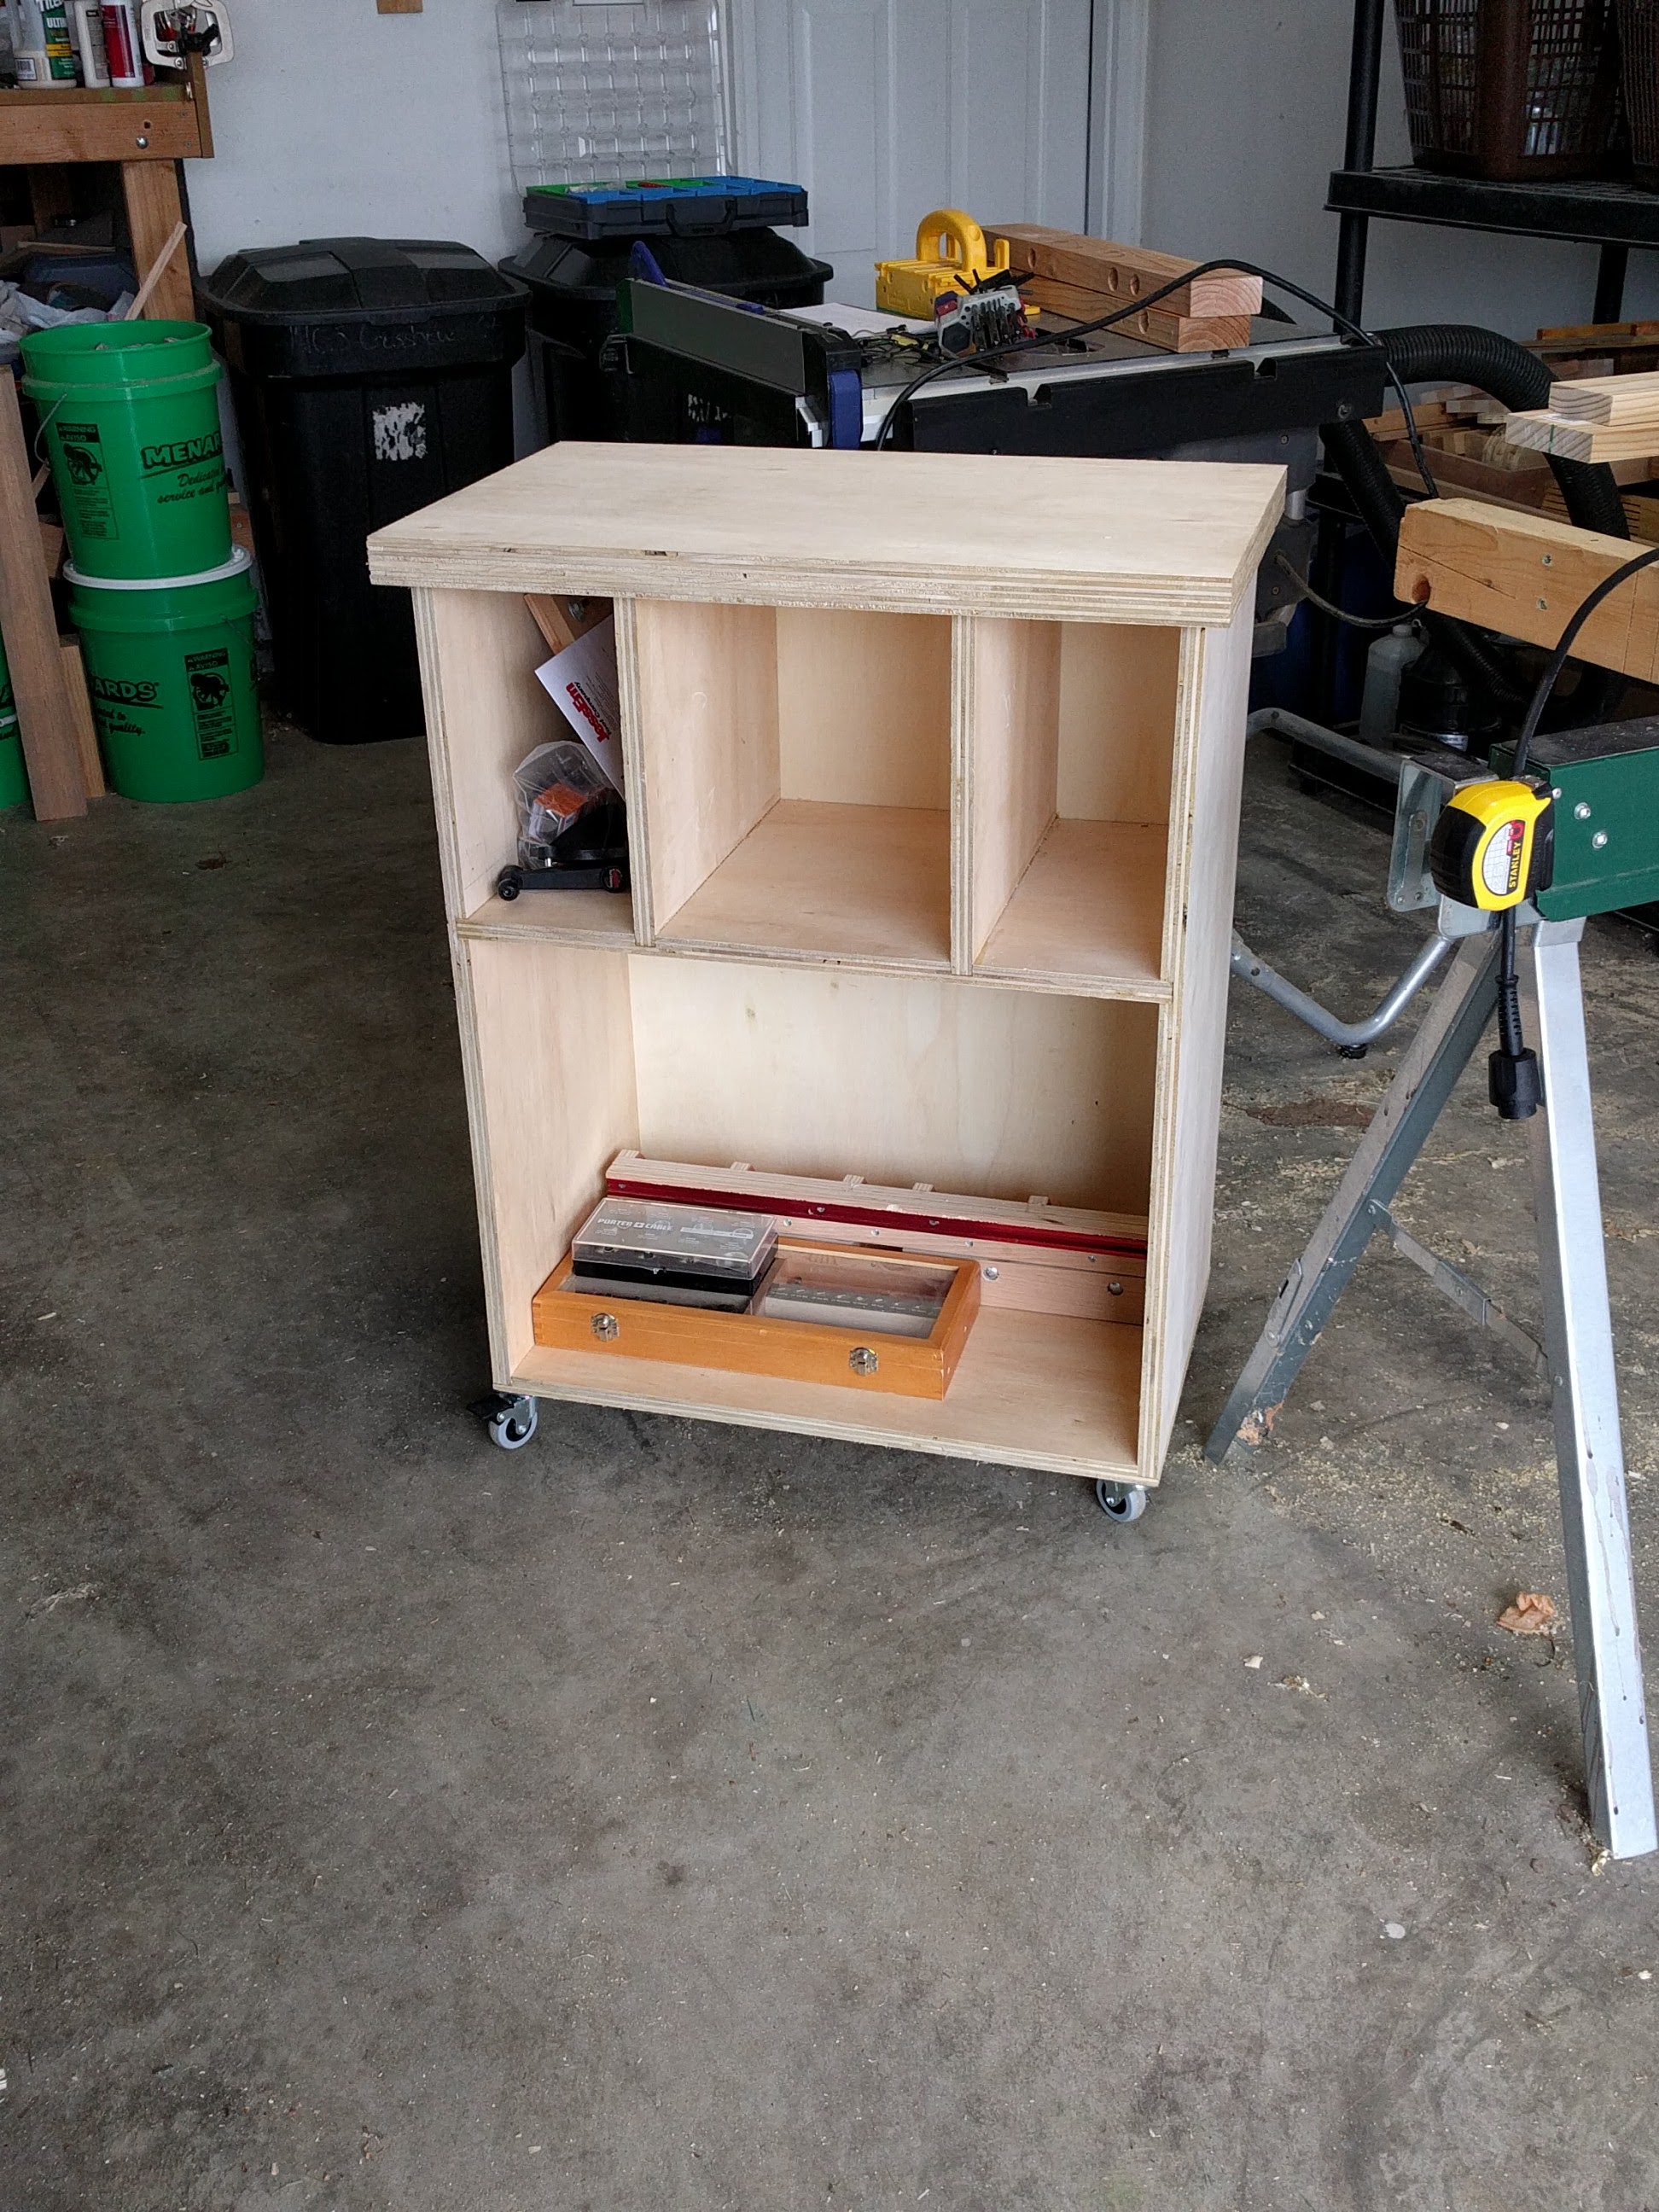
Drawer Construction
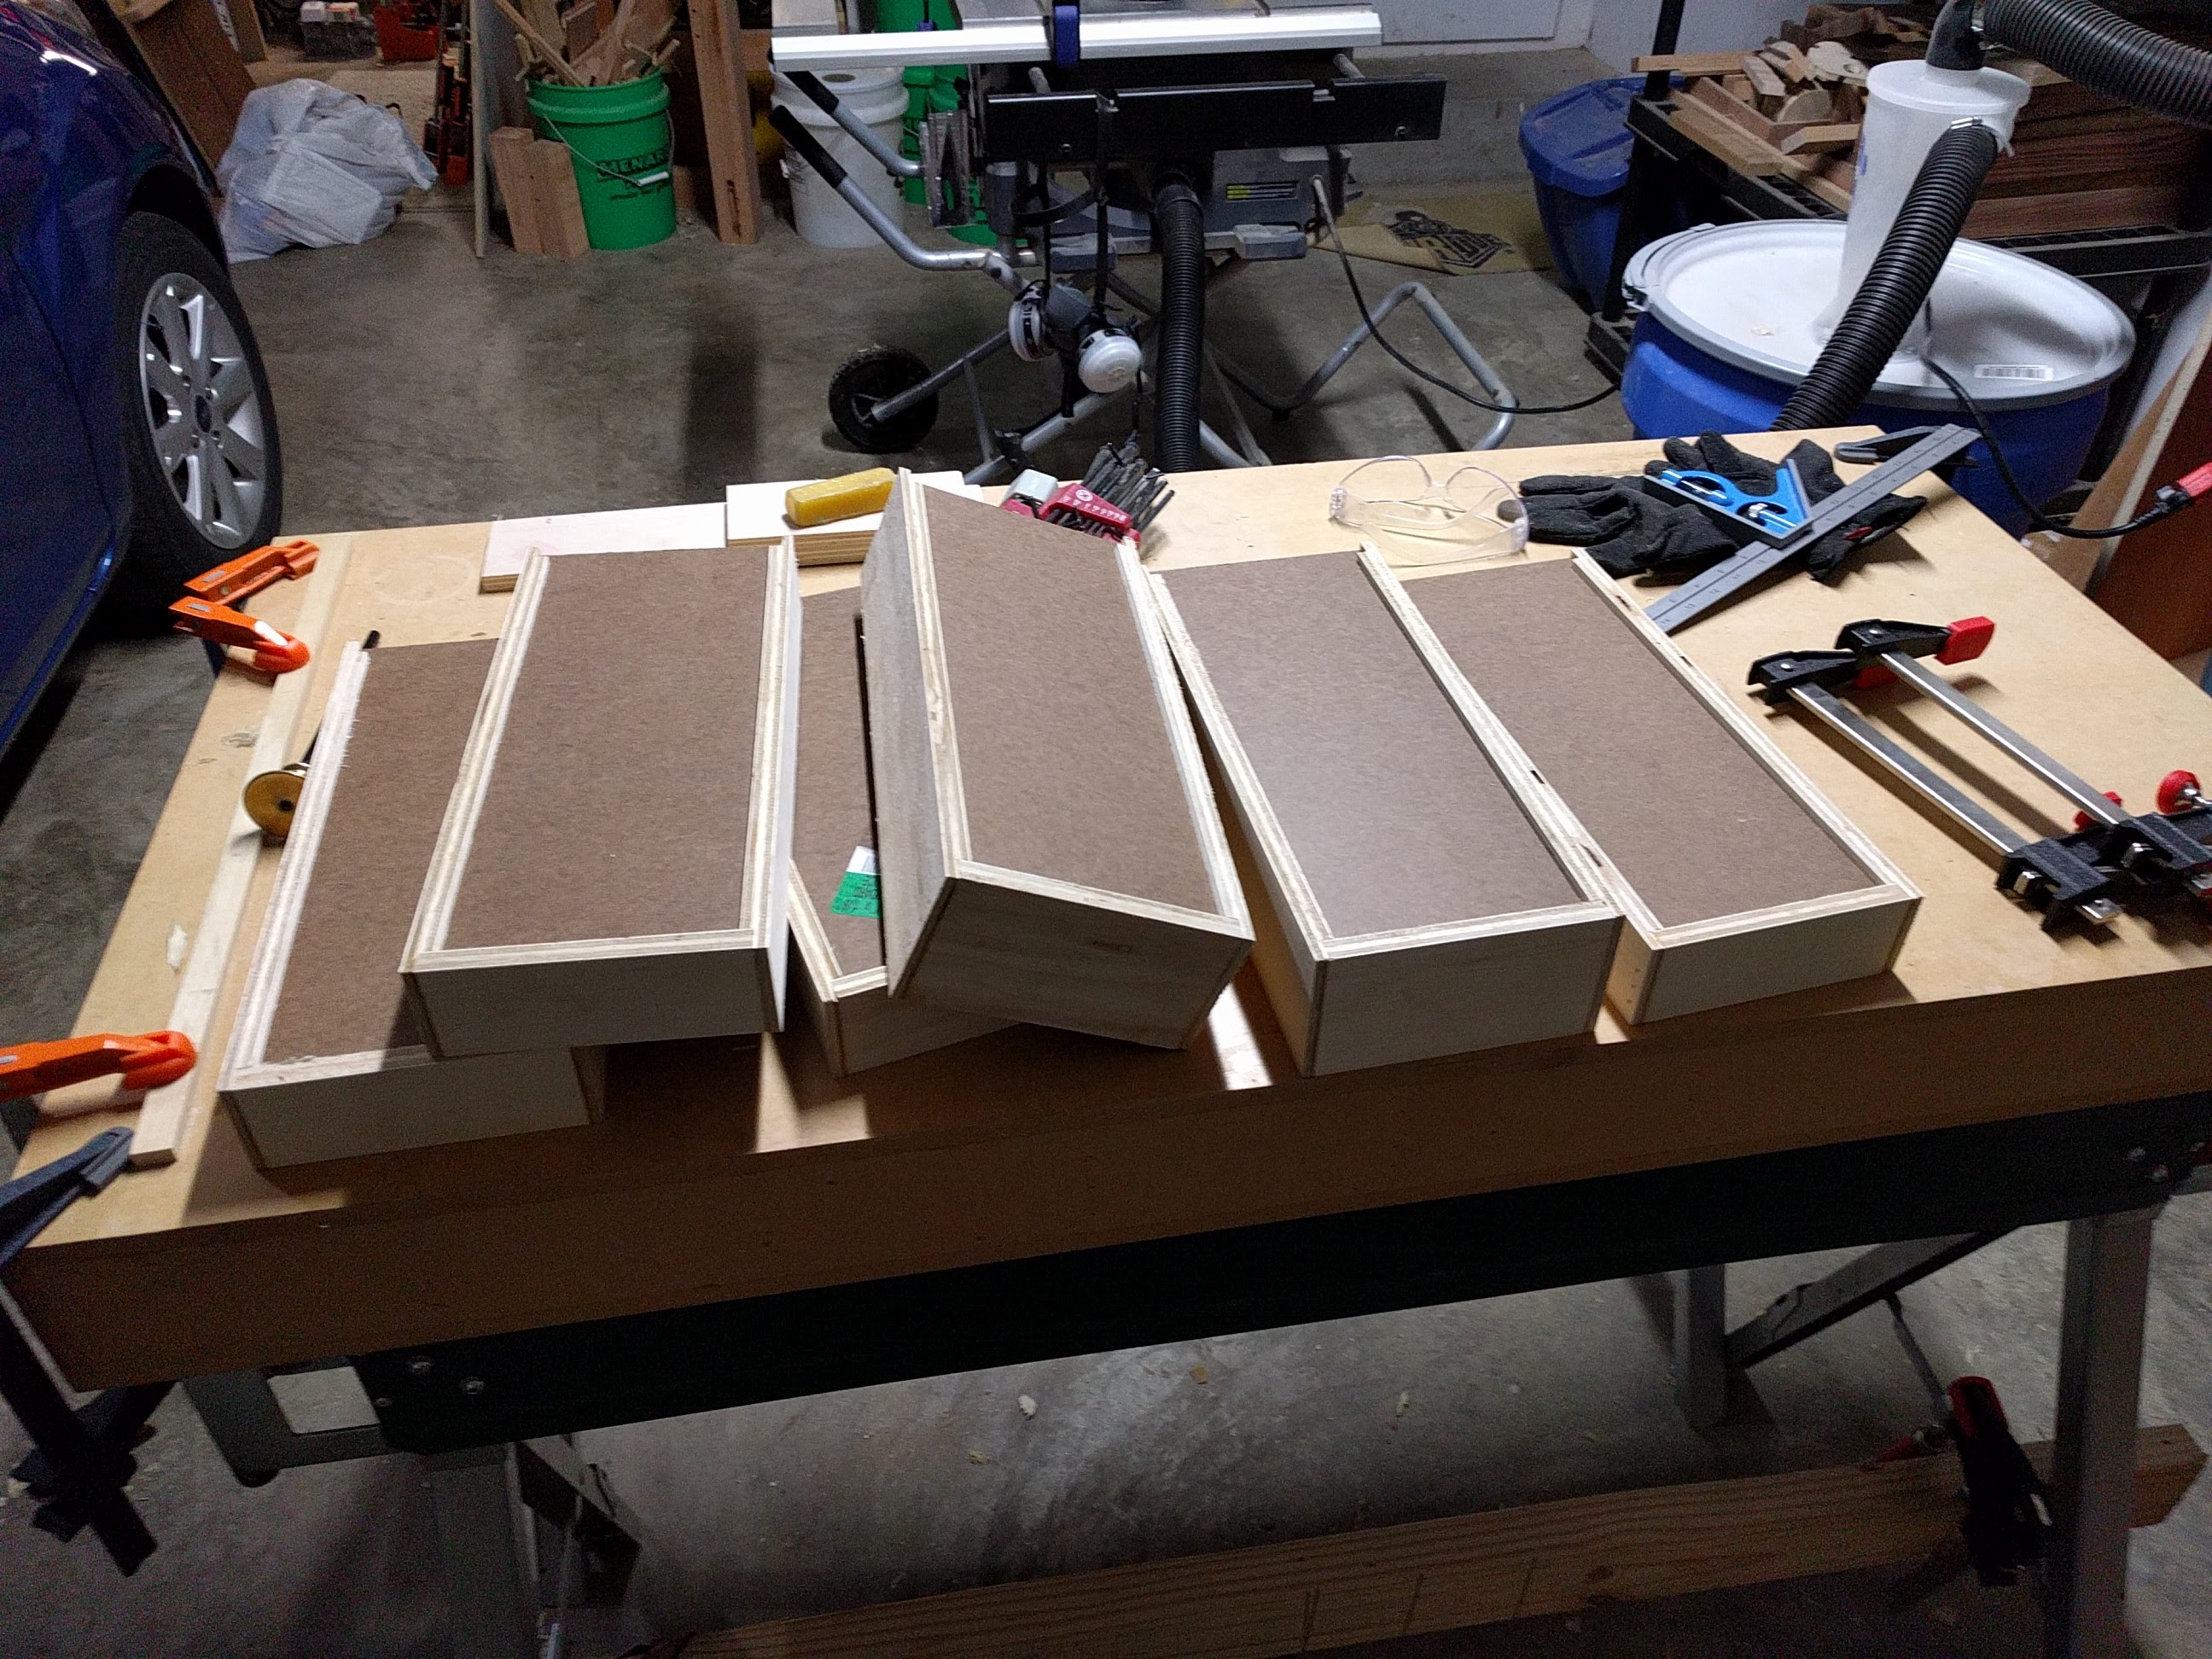
For a long time I played around with how I wanted to do the drawers. I kept thinking that I wanted vertical bit storage on the left and then do drawers on the right. But as I worked on how to make the bit storage like that, I was having problems and really wanted to get the project done. I changed my mind and decided to just do drawers on both sides. I was going to use drawer slides, but then I realized how small the drawers would be, cursed myself for not working them out in the SketchUp plans, and switched to the classic wood guides. This worked quite well, and I was pleased with the result.
Final Touches
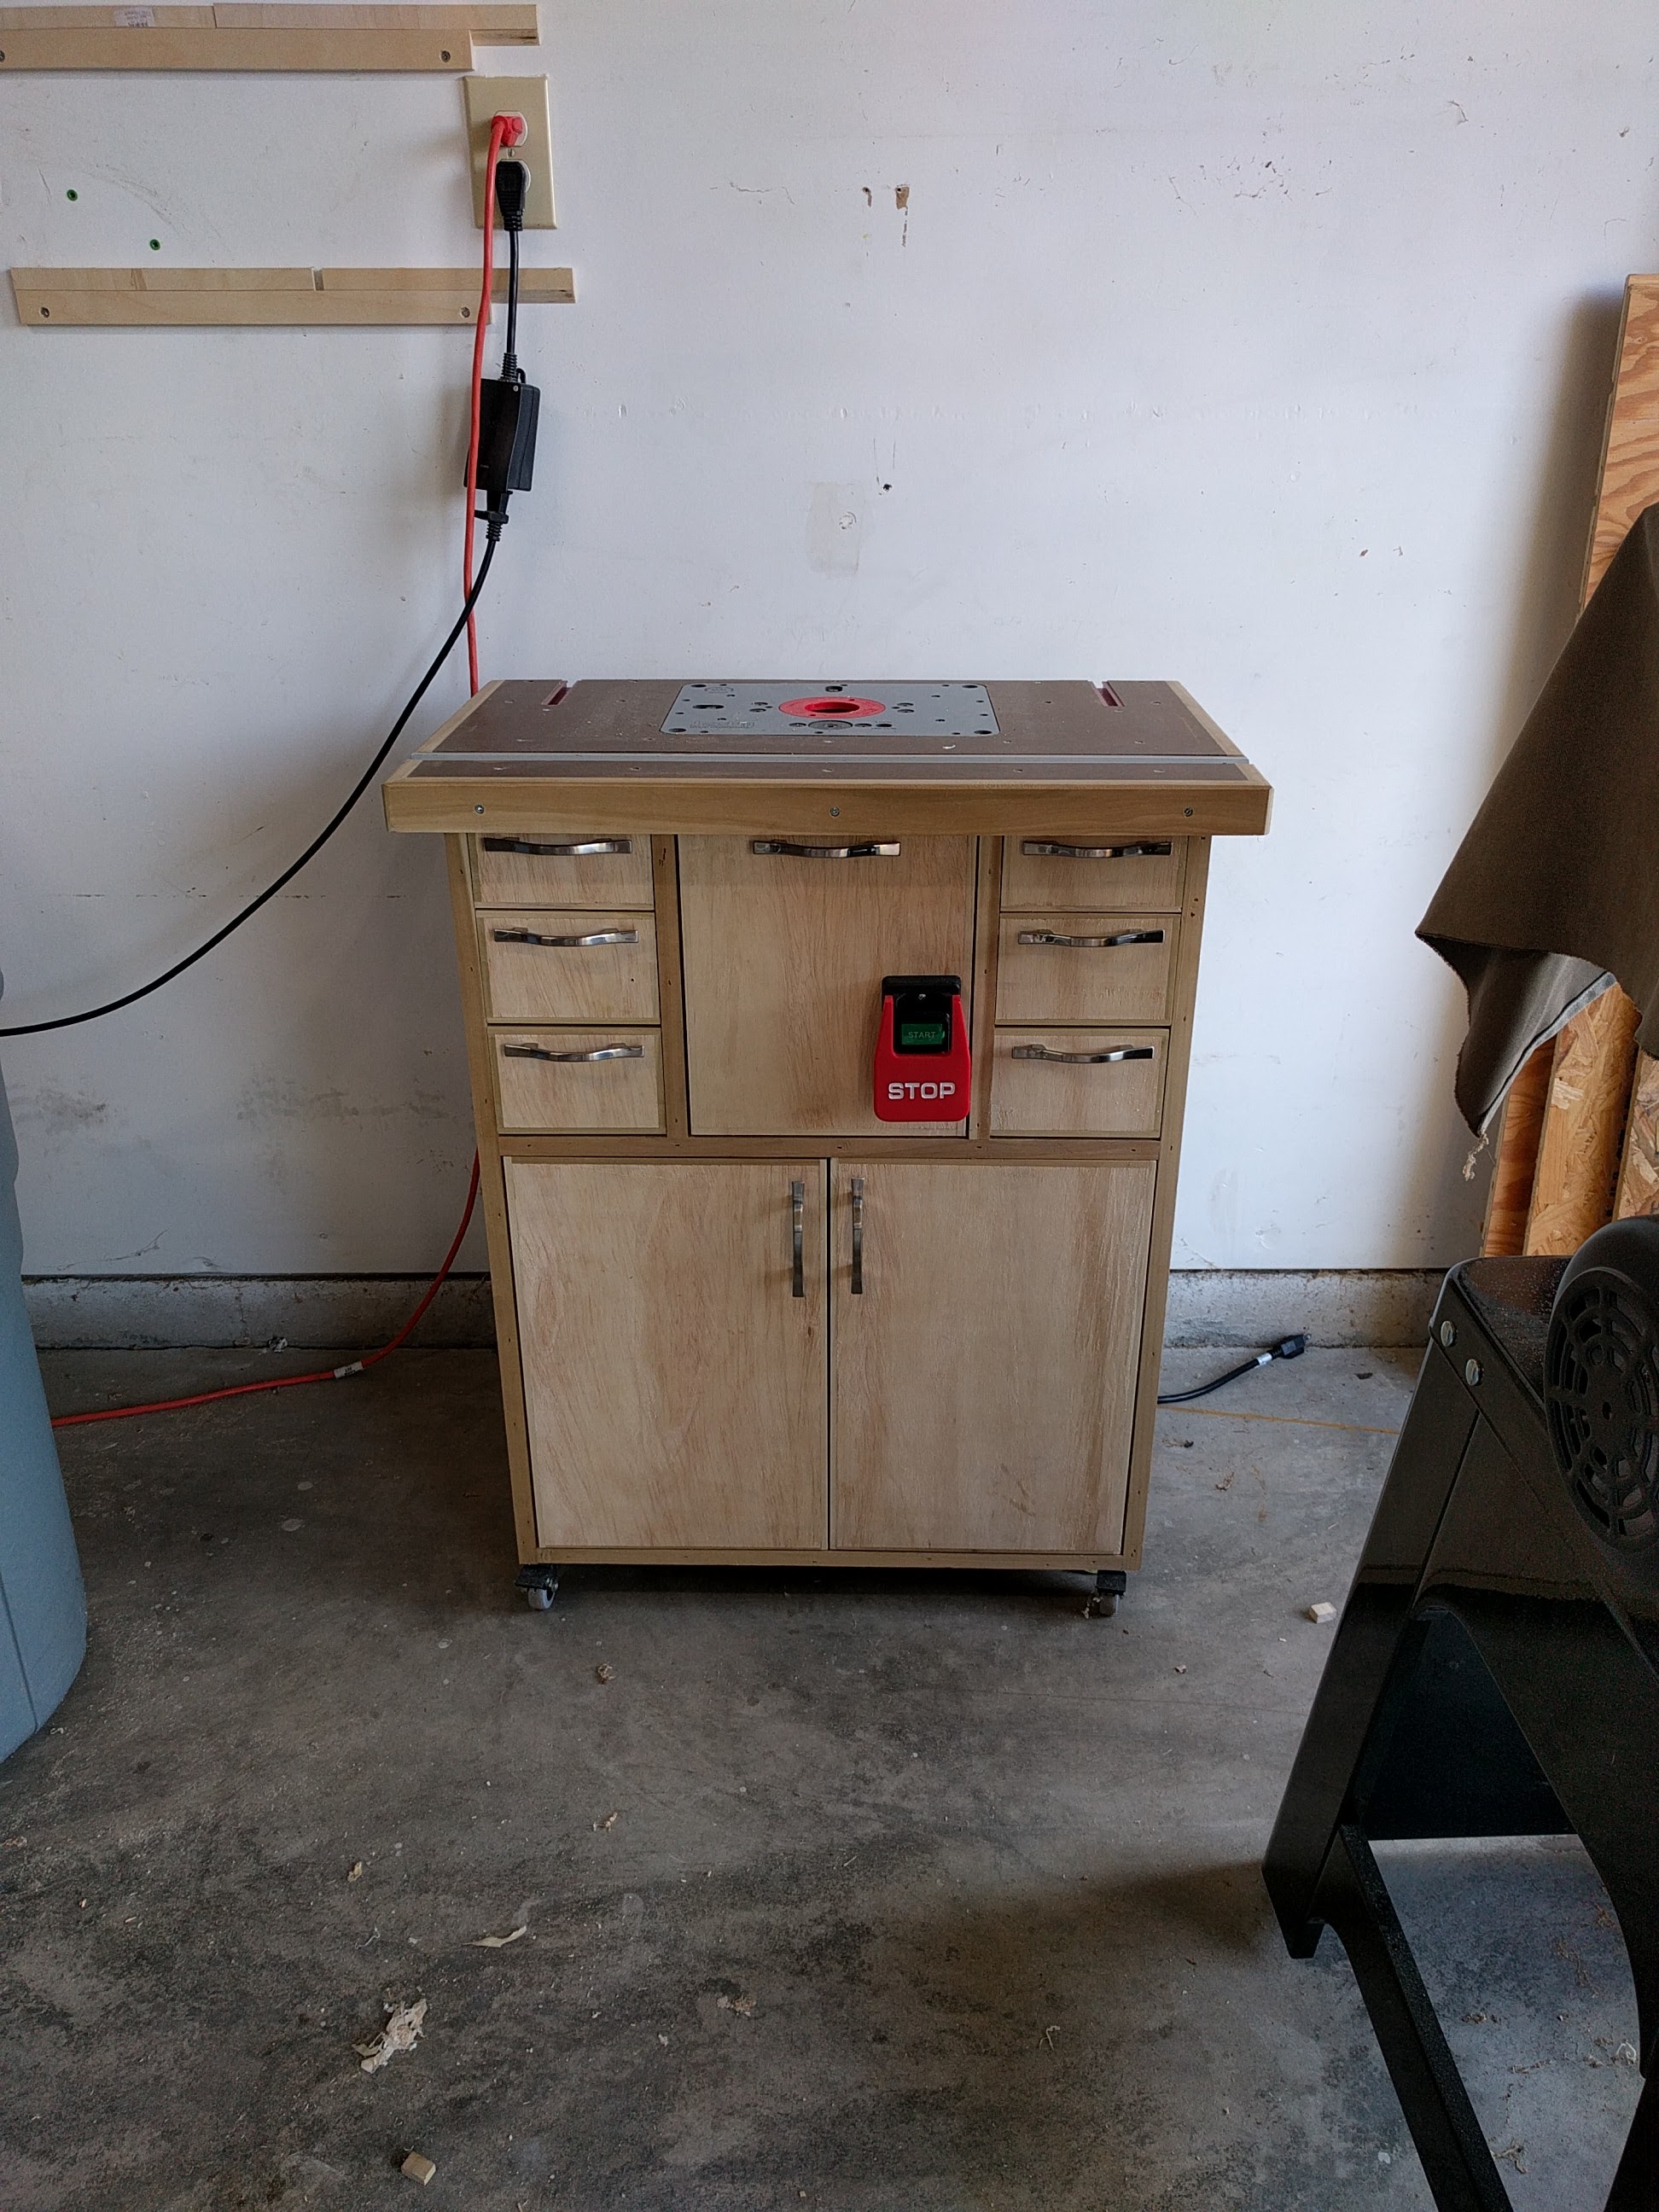
Since the cabinet was made from plywood, I wanted to do some edge banding to hide the layers. All of the banding was glued and pinned, with the exception of the banding around the top, where I screwed that on, should I need to replace it if it gets beat up in time. I wired up the switch to an outlet that is inside the cabinet, for the router to plug into. The outlet is in a separate chamber from the dust collection, so fire is a not a concern.
Lessons Learned
Installing the drawers was very difficult after the glue up was already completed. In hindsight, I should have done this either during the dry fit, or made the drawers wider so I could fit my hands in the opening easier.I also learned that I need to be careful when using cauls for clamping. I managed to put a small (1/64") bow in the top, which makes the router lift plate sit slightly proud of the surface. I believe this was because I made the cauls quickly without much assurance that the same amount of material was remove from both.
I'm also not certain that the wear surface was super necessary, but time will tell on that one.
DeWalt Router with soft-start is amazing. My previous router did not have soft-start, and I was constantly terrified that I was going to lose control of it. Not the case with the DeWalt. Also, the speed adjust helps so much, I didn't expect it to make a major difference in usability, but it did.
Conclusion
All-in-all, I couldn't be happier with this build. It's been an absolute pleasure using it, and the fact that it has dust collection makes me feel so much better as I am not breathing in all the dust anymore. I was able to use this a couple times already and changing the bit without removing the router has been great.